Build and deploy a REST API with Rust and AWS Lambda
Jan 06, 2025
Let me show you how to build a blazingly fast, cost-efficient REST API in Rust to serve any kind of data you want, and deploy it to AWS Lambda.
This is a real world ML project you can implement using your own dataset and add to your portfolio, so next time you apply for a
-
data engineer
-
data scientist or
-
ML engineering job
your chances of getting a positive response will the 10x higher (don't ask me how I got to this 10, I just know it's true).
Let's start!
Github repository
You can find all the source code in this repository.
If you get value form it, please give it a star ⭐ on Github
The starting point📍
The dataset we will use for this example consists of historical taxi trip data from NYC taxis between 2017 and 2024. You can find the raw data on this public website.
💡 This is the kind of data that data engineers, data scientist and ML engineers at companies like Uber work with every day.
Every record in our dataset corresponds to one taxi trip
{
    // info available when the trip starts
    "tpep_pickup_datetime": "2024-01-30T01:17:07Z",
    "PUlocationID": 123,    // starting location id
    "DOlocationID": 456,    // ending location id

    // info available when the trip is completed
    "tpep_dropoff_datetime":"2024-01-30T01:24:06Z",
    "trip_distance":1.06,
    "fare_amount":11.58
}
This type of data can be used to solve many real world business problems like:
-
Taxi trip duration prediction → as Uber does every time you request a aride.
-
Taxi demand prediction for efficient taxi driver allocation → as DoorDashdoes to optimize their delivery fleet.
-
Taxi fare prediction
-
... you name it!
Wanna solve a real world business problem with this data?
👉 If you want to learn how to build an ML system that predicts taxi demand in each area of NYC hour by hour, take a look at my Real-World ML Tutorial.
You will make the leap from ML model prototypes inside Jupyter notebooks to an end-2-end ML system, that generates live predictions
Let me show you the tools we will use today to build and deploy our REST API.
What programming language to use? </>
When it comes to writing the API there are at least 3 programming languages we could use:
-
Node JS → Good option if you are familiar with JavaScript. This is not my case.
-
Python → Good option if you are familiar with Python. This is my case, and probably yours too.
-
Rust → Excellent option if you want to leap into the future of ML engineering, and you want to build a blazingly fast, cost-efficient REST API. I am no Rust expert, but I am getting there. And as I want you to take with me, we will use Rust today.
Rust is a compiled language, which means that it is much faster than Python. To compile the code we will use cargo, which is the Rust package manager.
Installing it is super easy, just run this command in your terminal:
curl --proto '=https' --tlsv1.2 -sSf https://sh.rustup.rs | shAnd check the installation was successful by running:
rustc --version # checking the rust compiler is installed
cargo --version # checking cargo is installed
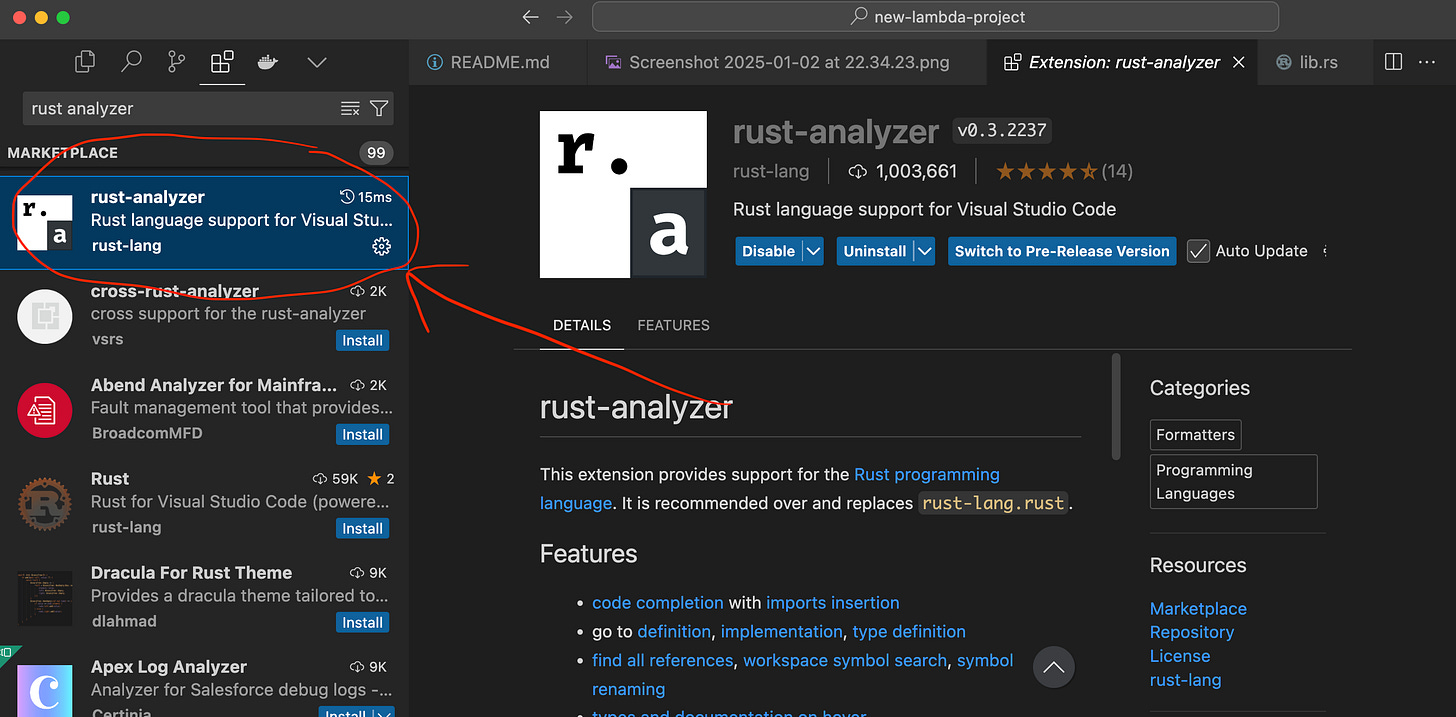
I also recommend you to install rust-analyzer extension for VSCode, which will help you get super fast feedback on your code inside Visual Studio Code.
Rust syntax is a bit more involved than Python, but it is not that hard to get used to it. And believe, it quickly pays off.
Where to deploy our API? 🚀
We will be using AWS Lambda to deploy our API. This deployment platform is super common among companies, especially in startups that want to build systems that can scale from 0 to 100x in a cost-efficient way, and quickly.
With AWS Lambda you are not paying for the time your API is not being used, and you can scale your API to 100x in a cost-efficient way.
This is the platform I have met over and over again working with startups, so I thought, "yes, let's use it".
Cool.
We have the data, the language and the deployment platform. Let me introduce you to your new best friend: cargo lambda 👋
Hello cargo lambda! 👋
Cargo Lambda is an open-source tool that helps you get started building Rust functions for AWS Lambda from scratch, as well as testing and deploying your functions on AWS Lambda in an efficient manner.
To install cargo lambda on your machine, simply run
pip install cargo-lambdaOnce installed, start a new project by running:
cargo lambda new rust-lambda-api --httpThis will create a new directory called rust-lambda-api with the basic structure of a lambda function that accepts HTTP requests.
├── Cargo.toml
├── src
│ ├── http_handler.rs
│ └── main.rs
└── README.md-
The Cargo.toml file is the equivalent of the pyproject.toml file in Python. It contains the dependencies and metadata of our project.
-
The src/main.rs file is the entry point of our lambda function. No need to edit it.
-
The src/http_handler.rs file contains the logic of our API. This is the file we will start editing 👨🏻💻
Implementing the API logic 🧠
Our lambda function does (like any other lambda function) 3 things:
-
Extracts the input parameters from the client request. In our case, the input parameters are
=> from_ms: The start date of the trip in milliseconds since the Unix epoch.=> n_results: The maximum number of results to return in the response.
-
Does something from these parameters. In our case, it fetches the data from the NYC taxi dataset for the given time period.
-
Returns the result back to the client. In our case, it returns the collection of taxi trips as a JSON.
This is precisely what I have implemented in src/http_handler.rs
Take a deep breath 🧘
Don't worry if you don't understand all the details of the code. The first time you see it, it is normal to feel a bit overwhelmed.
I added a few comments to the code to help you understand it. I also recommend you read these previous 3 articles I wrote about Rust.
→ Let's build a REST API in Rust, part 1
→ Let's build a REST API in Rust, part 2
→ Let's build a REST API in Rust, part 3
Running the API locally 🏃
You can run the lambda function locally on port 9000 with
cargo lambda watchand send a sample request with `curl` like this
curl -X GET http://localhost:9000/?from_ms=1706577426000&n_results=100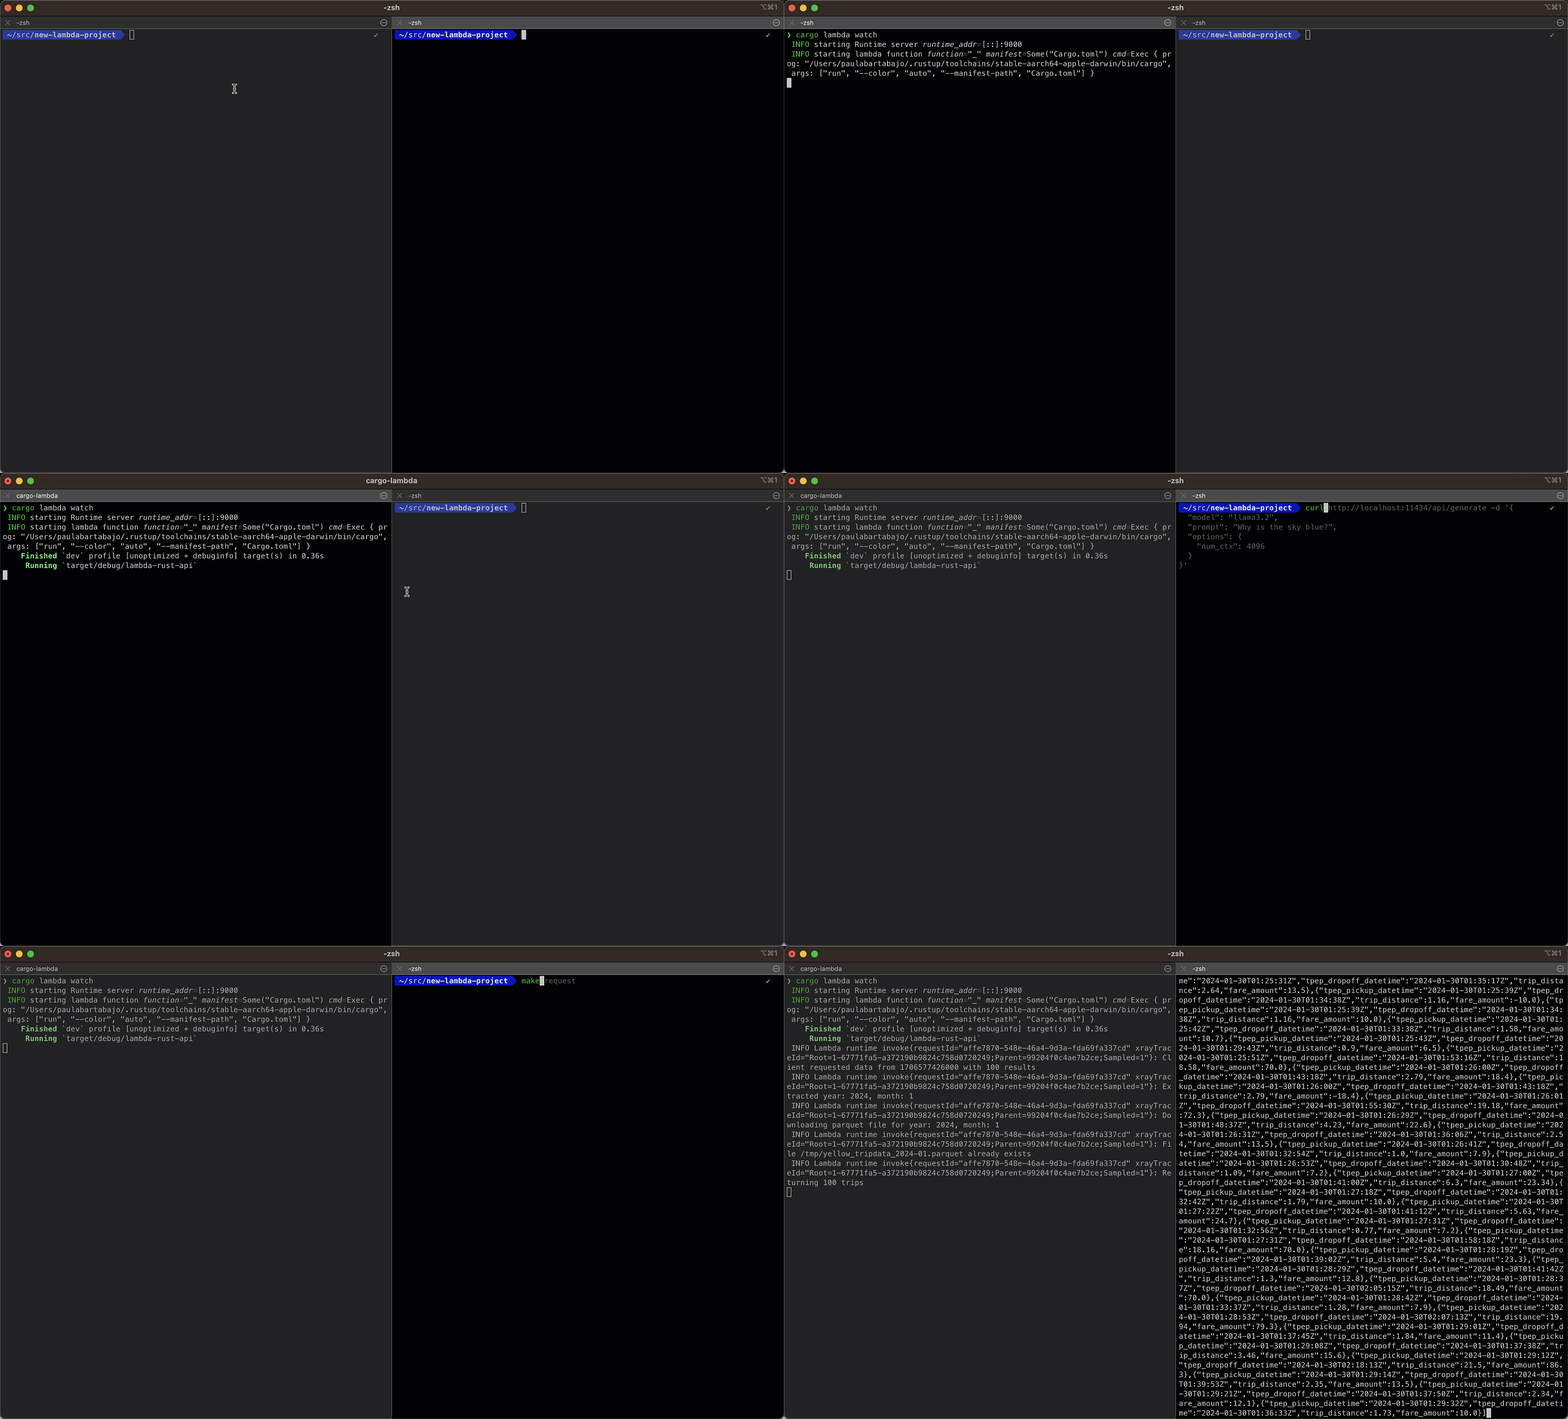
or directly from your browser.
Testing the API 🧪
Before deploying the API to AWS Lambda, we need to make sure it works as expected.
This is super important when you release new versions of your code to production, and you want to make sure it works as expected.
This is what testing is all about.
In the src/http_handler.rs file, you will see a #[cfg(test)] block. This is the block where we have implemented the tests for our API. In this case, we have implemented a test that checks if the API returns a 200 OK response.
You can run the test with
cargo test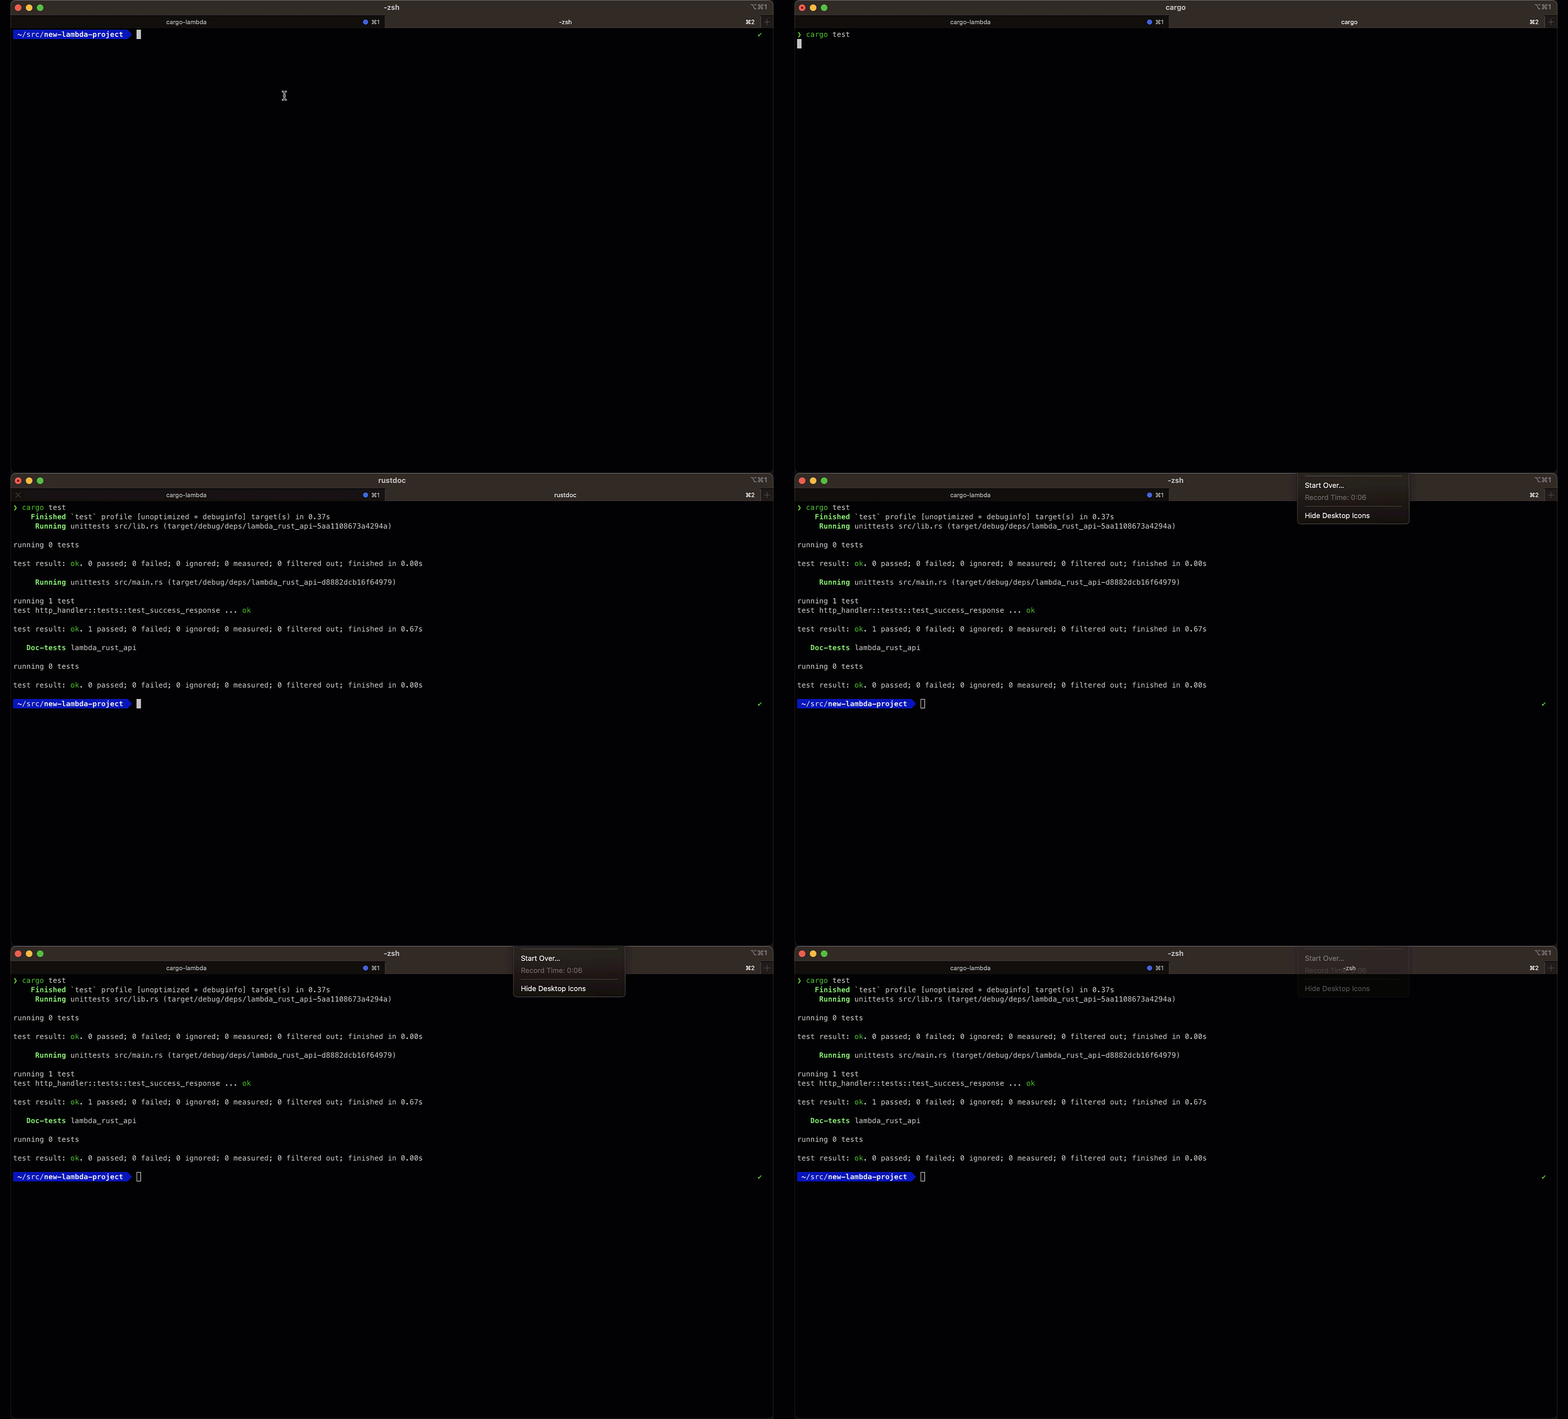
Building the API binary 🏗️
Before deploying the API to AWS Lambda, we need to build the lambda function. Remember that Rust is a compiled language, so we need to compile the code before deploying it.
We can do this with the following command:
cargo lambda build --release --arm64This will create a bootstrap binary in the target/lambda directory.
├── src
│ ├── http_handler.rs
│ └── main.rs
└── target
  └── lambda
    └── lambda-rust-api
        └── bootstrap
Deploying the API to AWS Lambda 🚀
To deploy to AWS Lambda you will need:
-
An AWS account with a user that has the necessary permissions to deploy to AWS Lambda.
-
The AWS CLI installed on your machine.
From the AWS console IAM page, generate a new access key for your user.
Save the access key id and secret access key in your ~/.aws/credentials.
# ~/.aws/credentials

[YOUR_AWS_PROFILE_NAME]
aws_access_key_id = YOUR_KEY_ID
aws_secret_access_key = YOUR_SECRET_KEY
Once all this is done, you can deploy the API to AWS Lambda with the following command:
cargo lambda deploy lambda-rust-api \
    --timeout 10 \
    --memory-size 1024 \
    --env-var RUST_LOG=info \
    --profile YOUR_AWS_PROFILE_NAME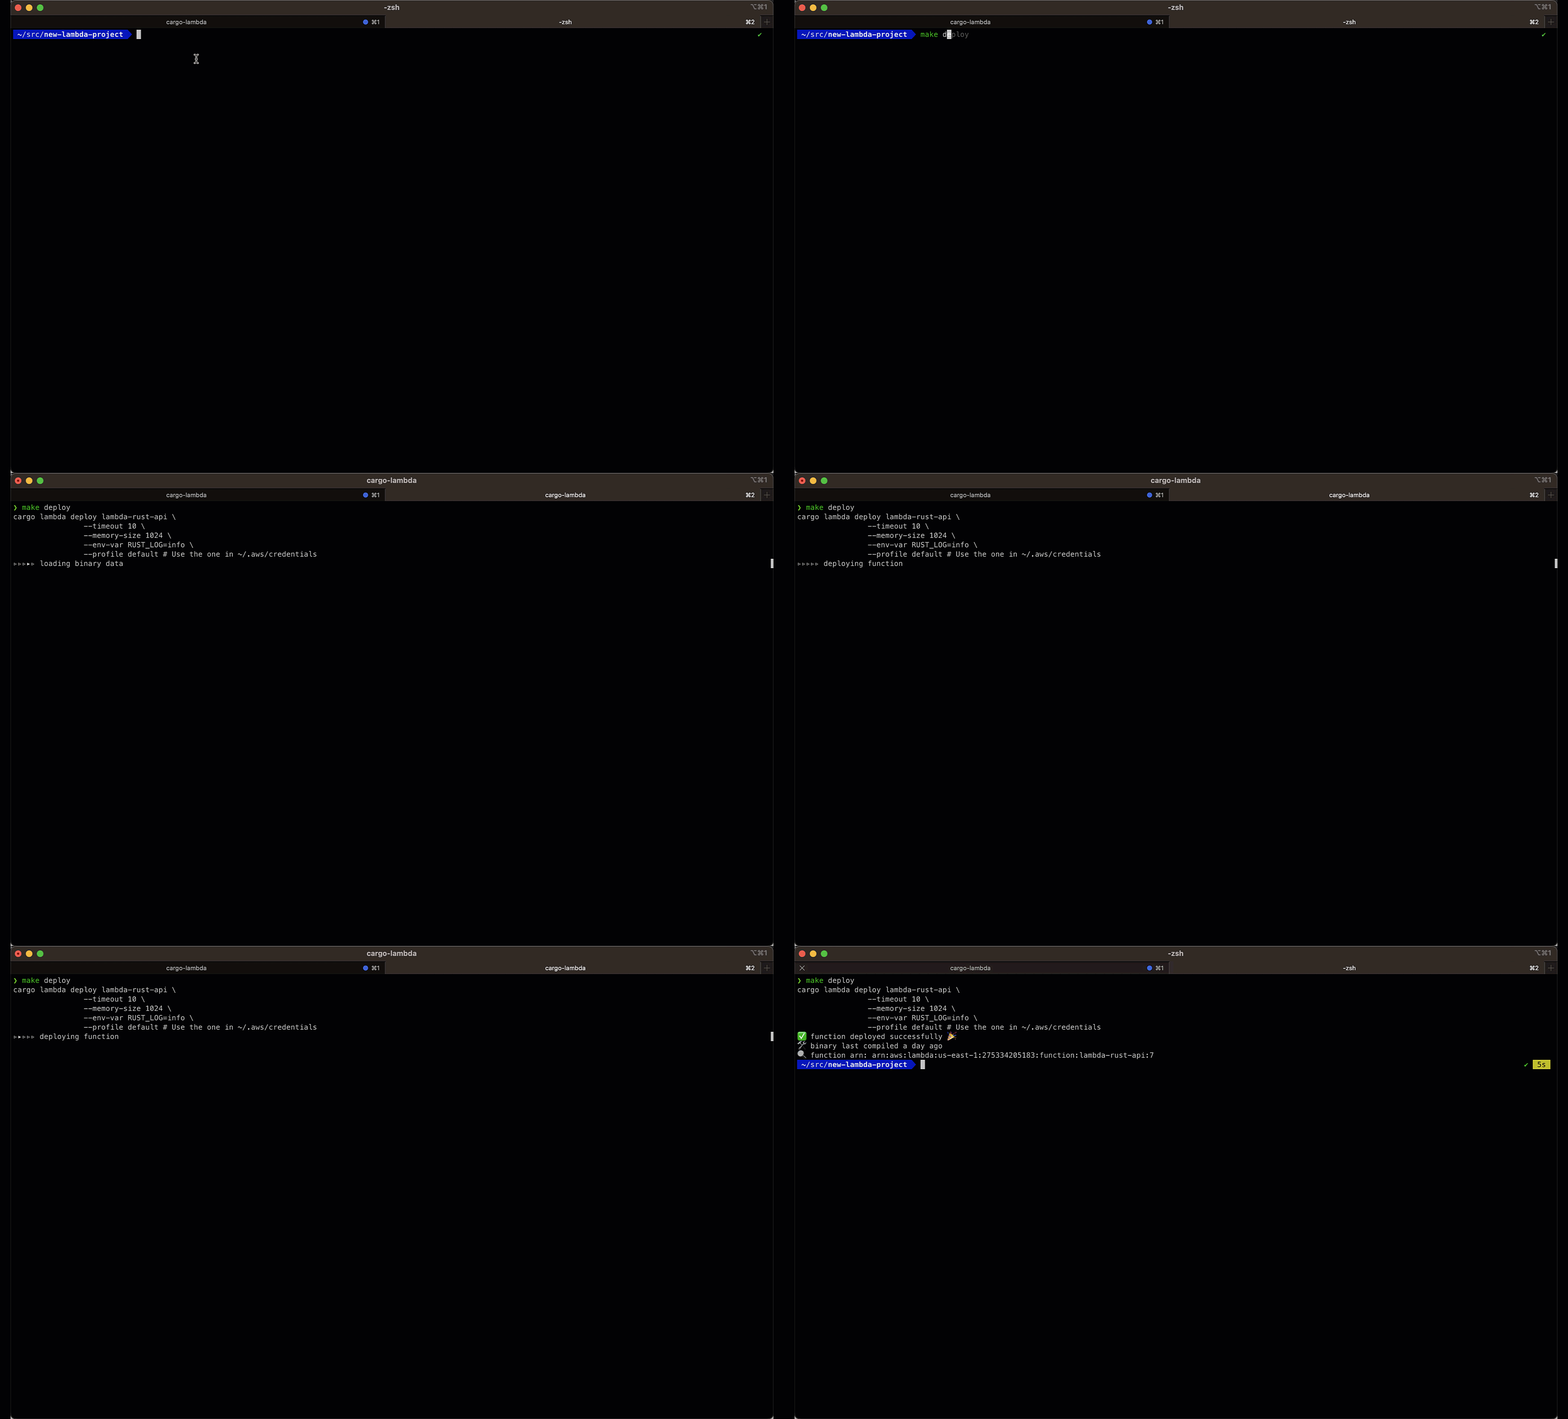
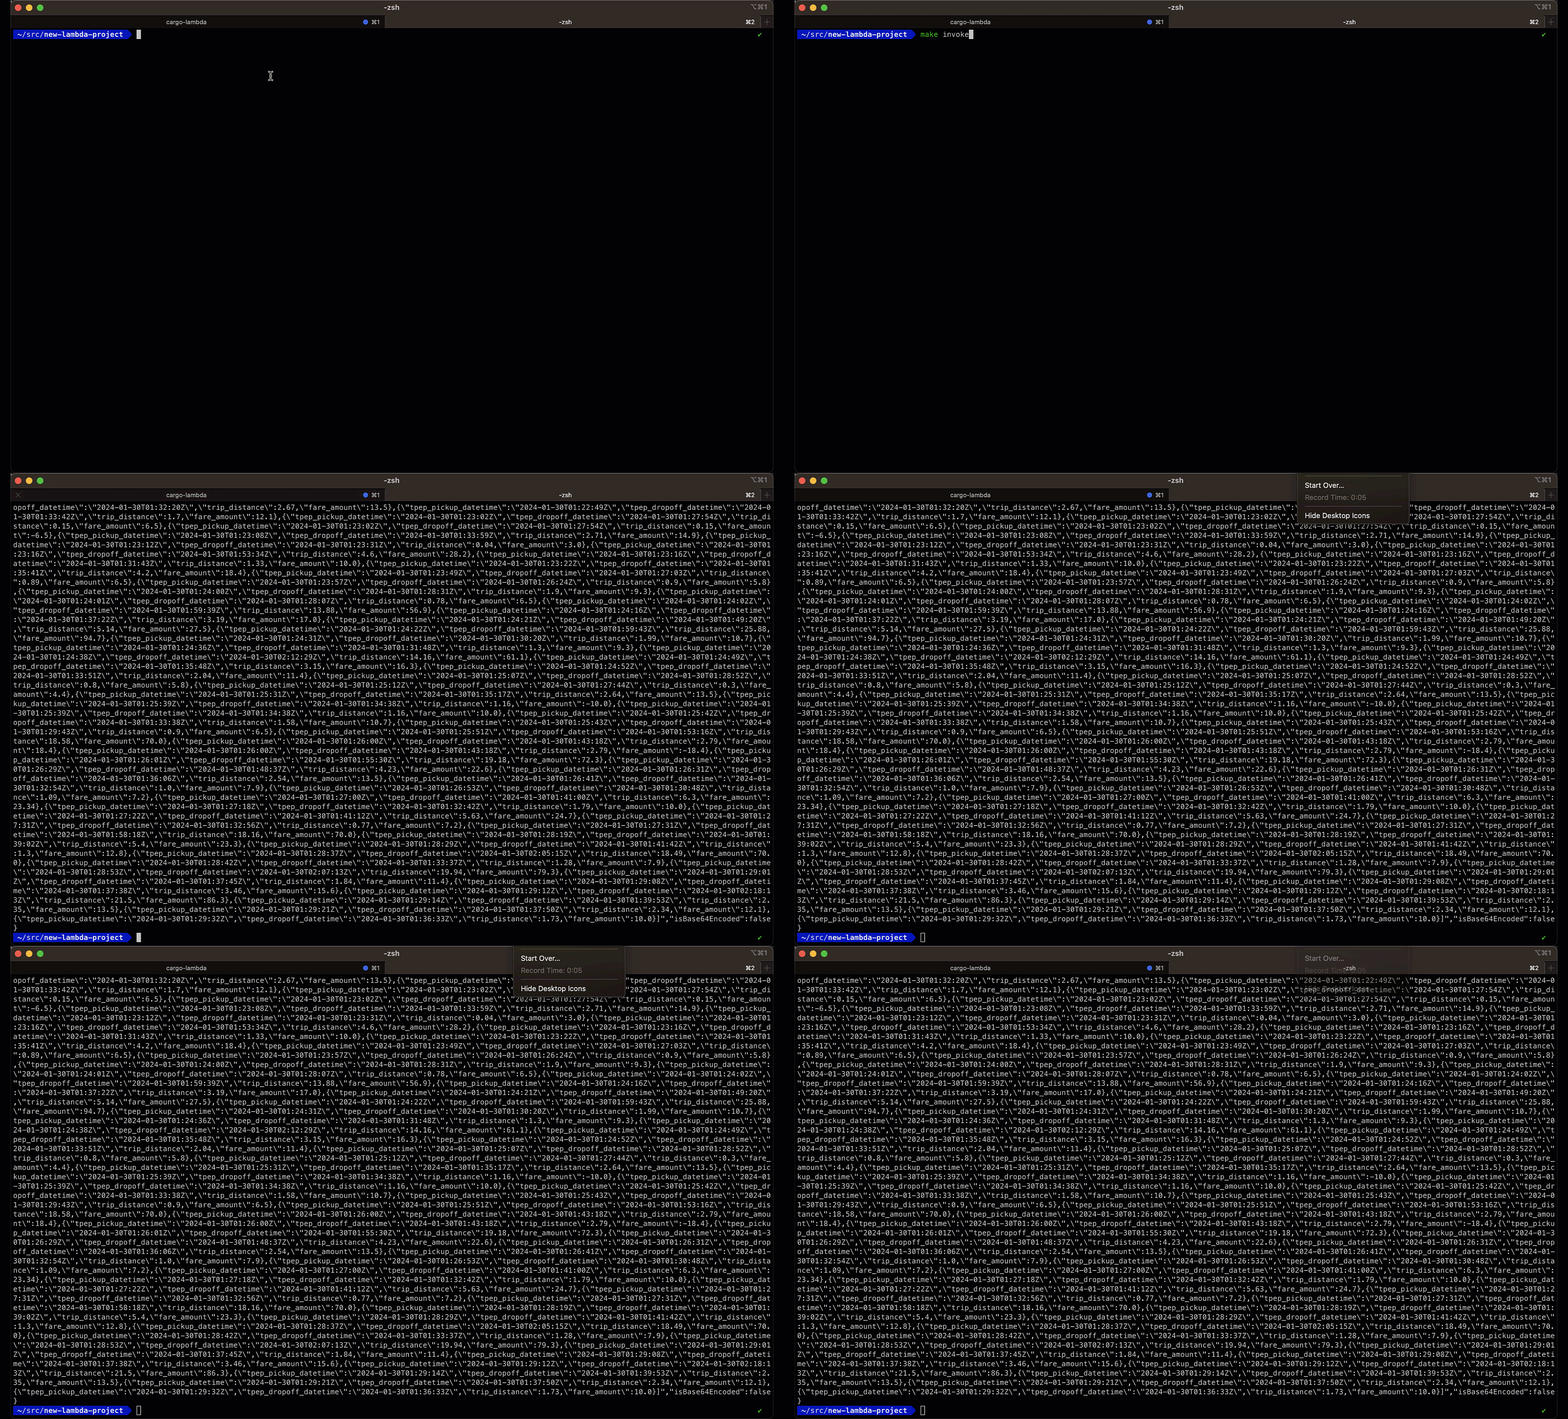
Invoking the API ☎️
You can invoke the API with the following command:
cargo lambda invoke lambda-rust-api \
    --data-file ./sample_request.json \
    --remote
And the response will be something like this:
Super fast.
Super cheap.
Super Rust.

