How to train ML models in the real-world
Jul 14, 2024
Here is the workflow and tools I use to train your ML models in real-world projects.
Let’s get started!
The problem 🤔
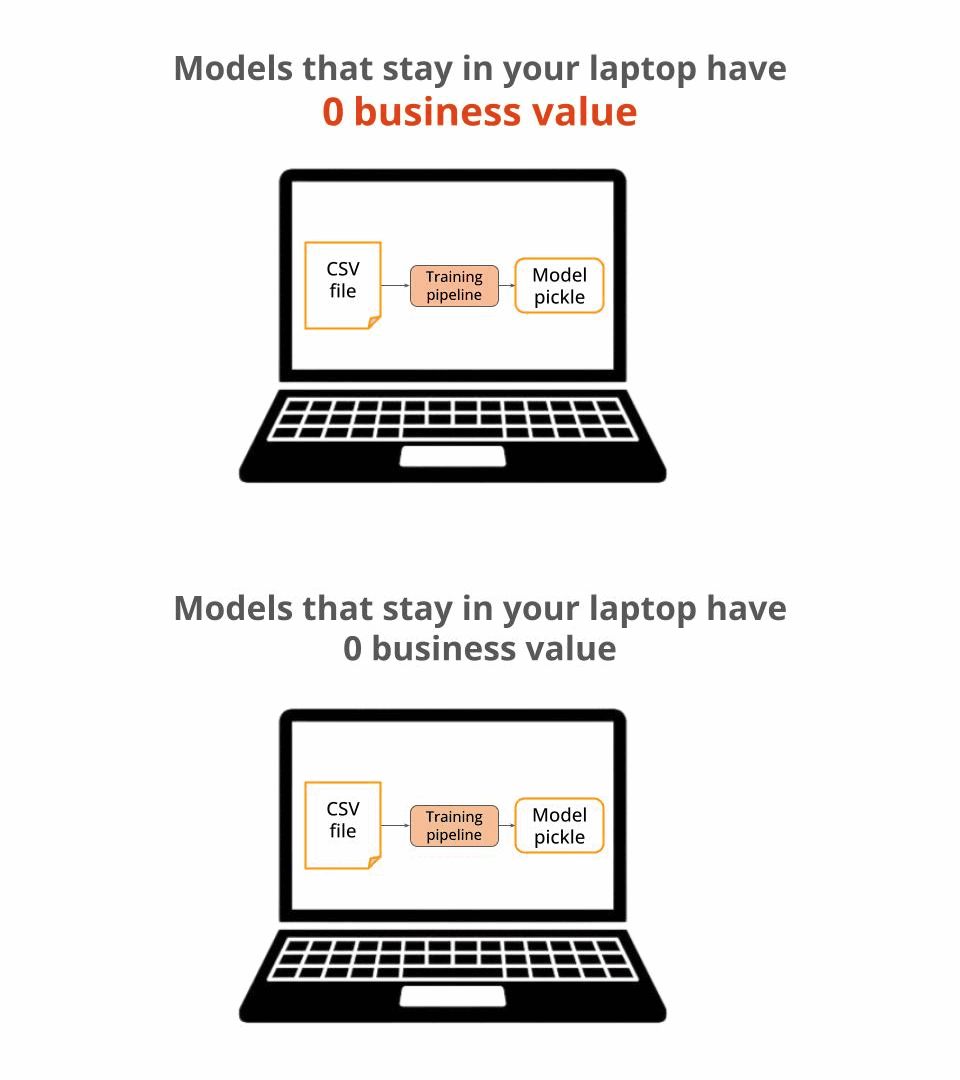
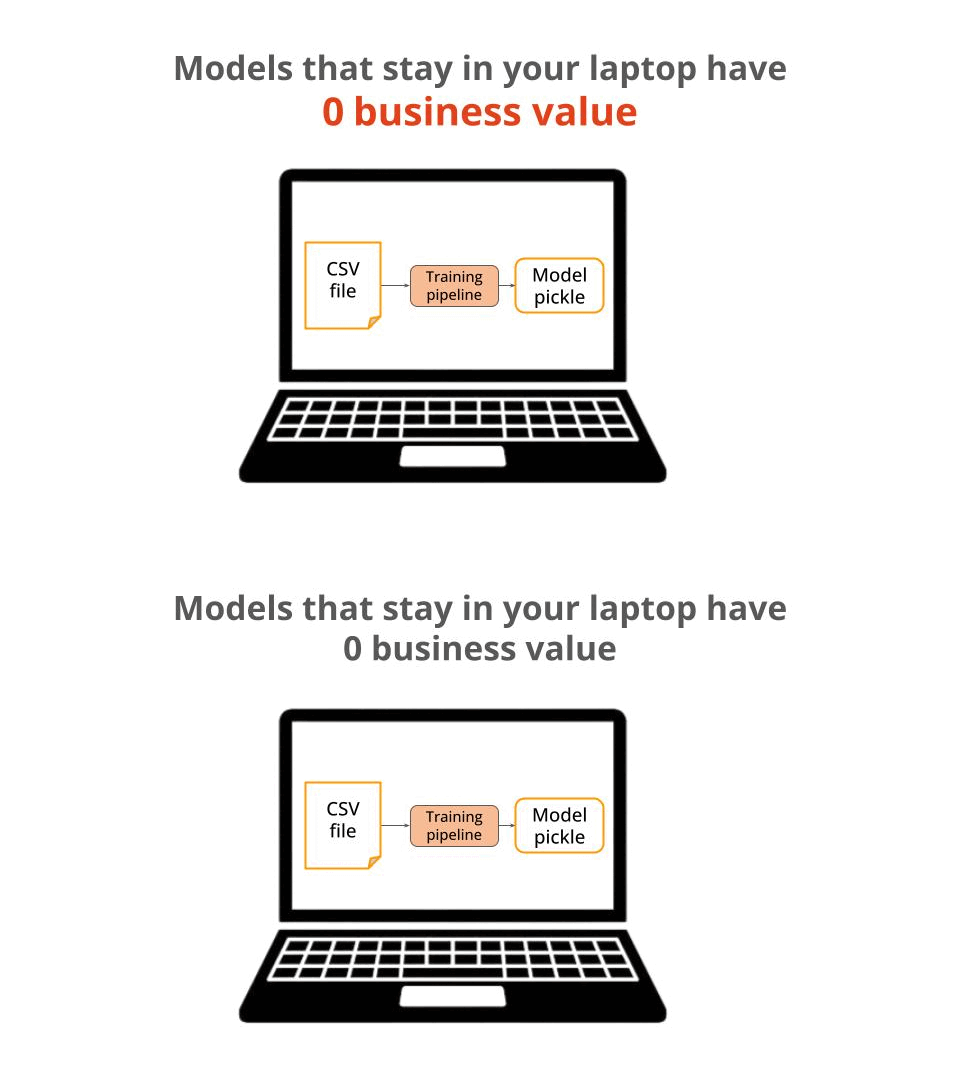
Training ML models and saving them in your laptop has 0 business value, no matter how accurate these models are.

Because the whole point of training an ML model is to later deploy it to a production environment, where it can serve predictions to downstream applications and end-users, and improve a specific business metric.
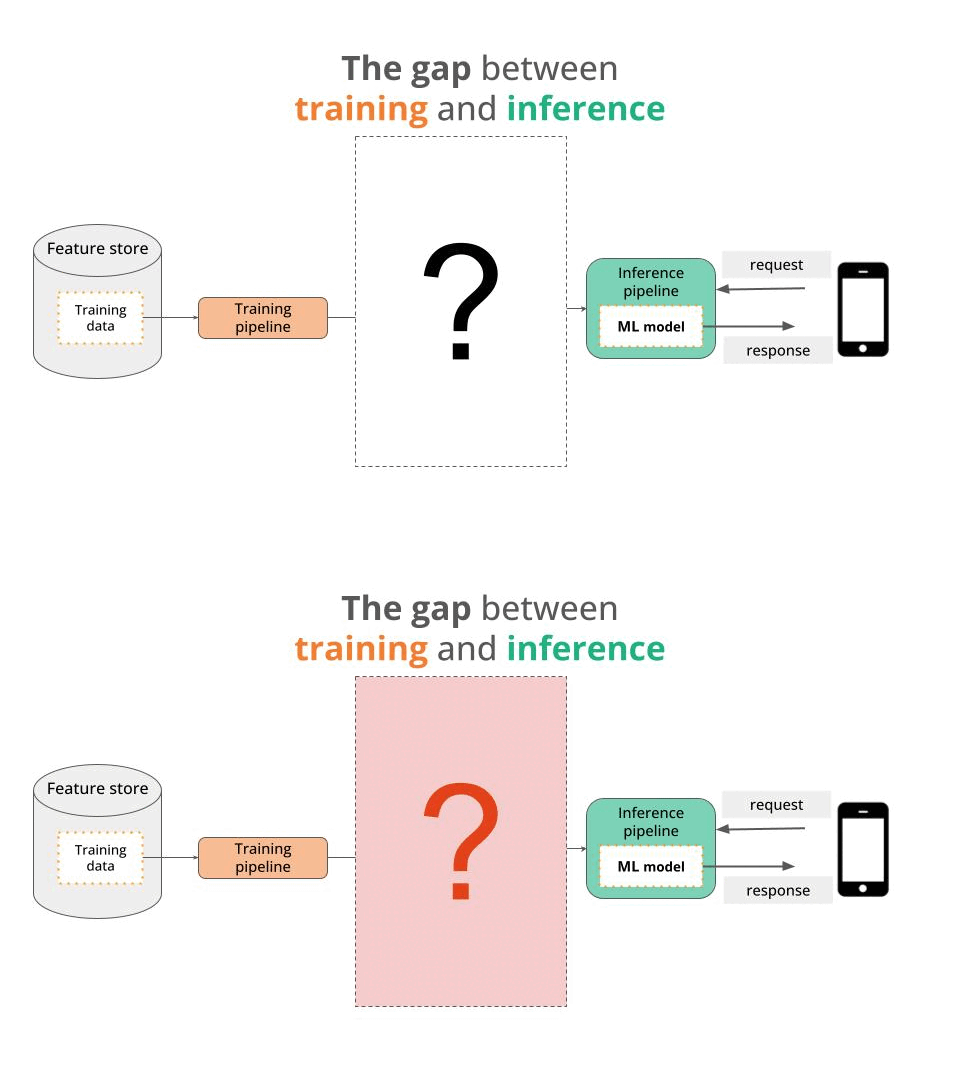
Now, to deploy a model you need to somehow bridge the gap between
→ your local development environment where you train your ML model, and
→ the production environment where you deploy this model
But the question is, HOW?

Here is the solution ↓
Solution 🧠
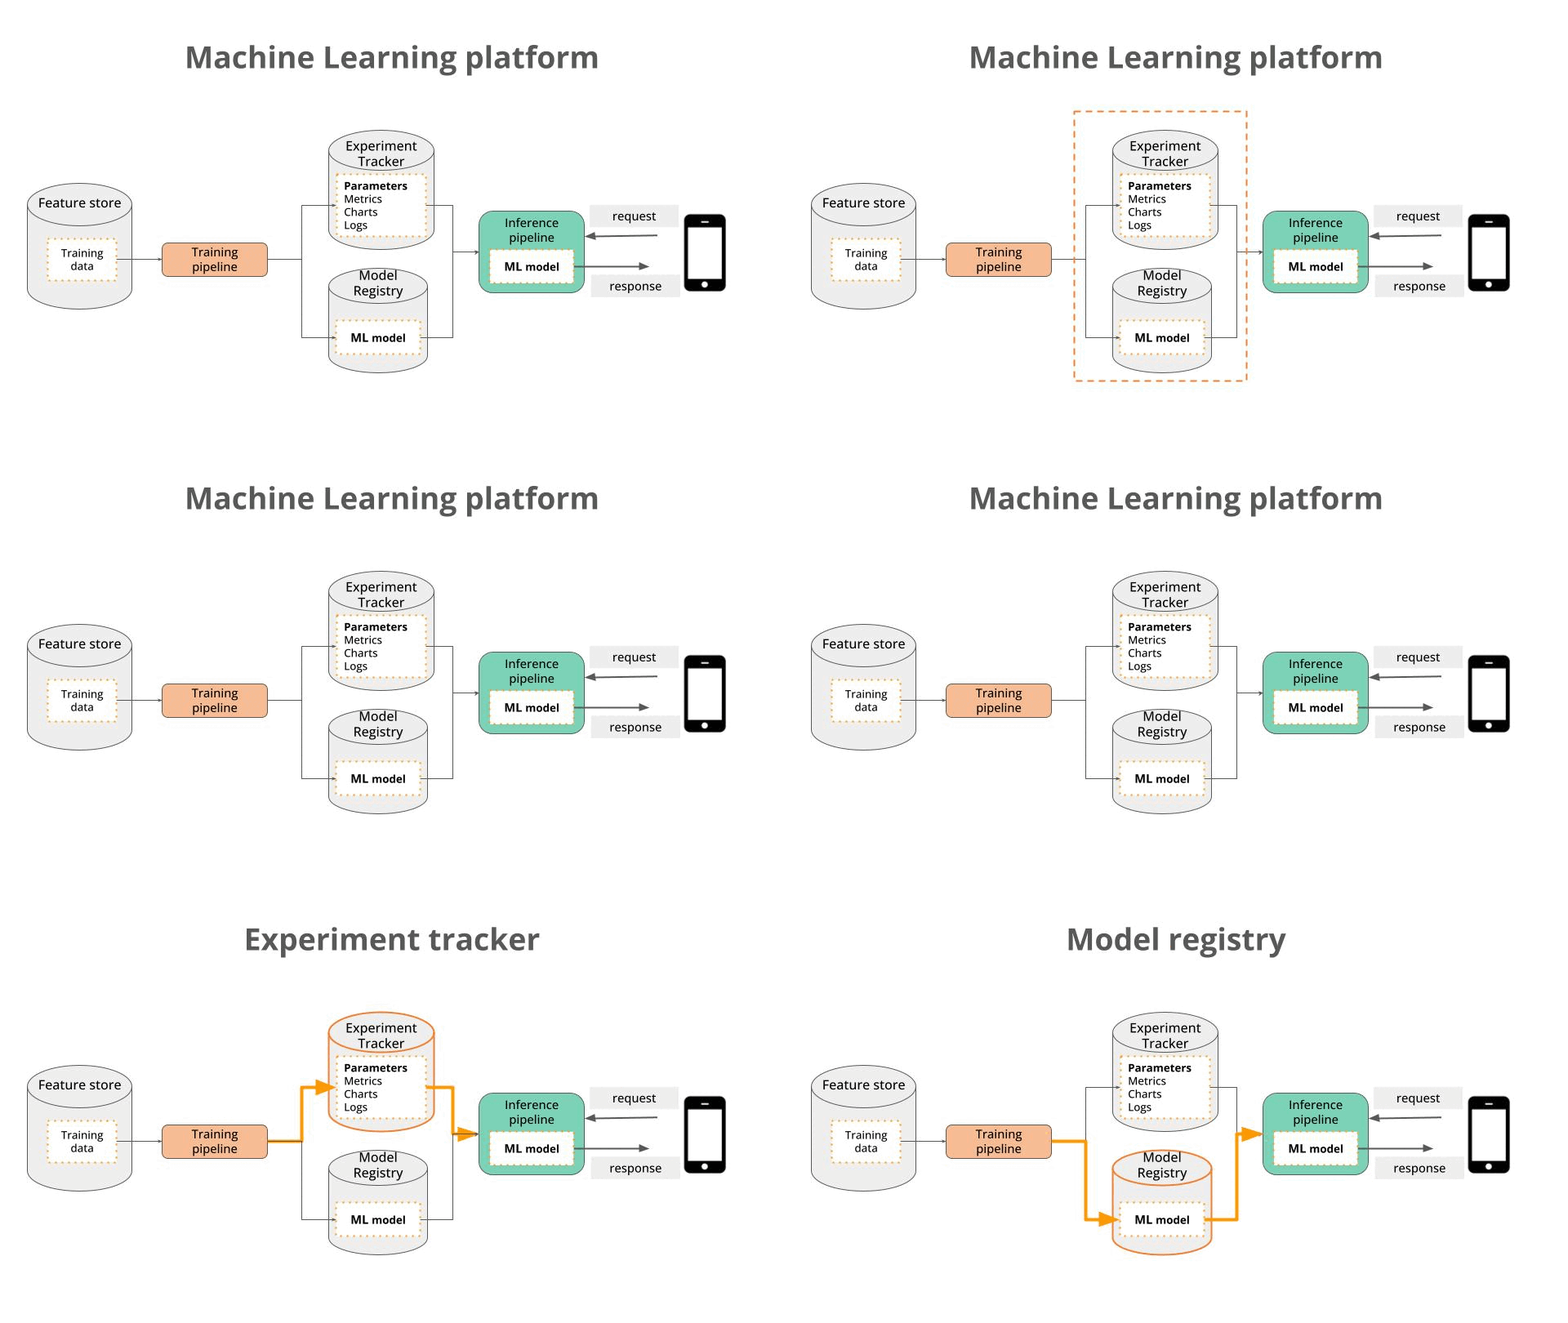
The easiest way to transition your models from training to deployment is to use a Machine Learning platform, which includes
→ an experiment tracker, to log training runs metadata, and
→ a model registry, to store, manage and serve your model artifacts.

These 2 services are the bridge that help you transition models from development to production fast and safe.
Let me show you how with an example
Example 💁🏽
Let me walk you through the process I followed last week, together with 100+ students from my course “Building a Real-Time ML System. Together”, to
→ write a professional training script (no more messy Jupyter notebooks please), and
→ integrate it with Comet ML’s experiment tracker and model registry.
Step 1. Parametrize your training script
To train a good ML model you typically need to re-run your training script 100s (if no 1000s of time) each time possibly changing something (like an input, or a small code change).
Because of this, I strongly recommend you encapsulate your training logic into a function with clearly defined inputs, that makes your workflow transparent and fully reproducible.
For example, our training function has the following signature:
def train(
    feature_view_name: str,
    feature_view_version: int,
    ohlc_window_sec: int,
    product_id: str,
    last_n_days_to_fetch_from_store: int,
    last_n_days_to_test_model: int,
    prediction_window_sec: int,
):
Internally, this function follows 6 steps:
-
Fetch training data from the Feature Store.
# Step 1 # Fetch the data from the feature store ohlc_data_reader = OhlcDataReader( ohlc_window_sec=ohlc_window_sec, feature_view_name=feature_view_name, feature_view_version=feature_view_version, ) logger.info('Fetching OHLC data from the feature store') ohlc_data = ohlc_data_reader.read_from_offline_store( product_id=product_id, last_n_days=last_n_days_to_fetch_from_store, ) -
Split the data into training and test sets
# Step 2 # Split the data into training and testing using a cutoff date logger.info('Splitting the data into training and testing') ohlc_train, ohlc_test = split_train_test( ohlc_data=ohlc_data, last_n_days_to_test_model=last_n_days_to_test_model, ) -
Pre-process the data for each split, in this case missing value interpolation for time-series:
# Step 3 # Preprocess the data for training and for testing # Interpolate missing candles logger.info('Interpolating missing candles for training data') ohlc_train = interpolate_missing_candles( ohlc_train, ohlc_window_sec) logger.info('Interpolating missing candles for testing data') ohlc_test = interpolate_missing_candles( ohlc_test, ohlc_window_sec) -
Generate the target metric to predict (if your target metric is already present you can skip this)
# Step 4 # Create the target metric as a new column # in our dataframe for training and testing logger.info('Creating the target metric for training data') ohlc_train = create_target_metric( ohlc_train, ohlc_window_sec, prediction_window_sec, ) logger.info('Creating the target metric for test data') ohlc_test = create_target_metric( ohlc_test, ohlc_window_sec, prediction_window_sec, ) -
Build a simple baseline model, and
# Step 5 # Let's build a baseline model model = BaselineModel( n_candles_into_future=prediction_window_sec // ohlc_window_sec, ) y_test_predictions = model.predict(X_test) baseline_test_mae = evaluate_model( predictions=y_test_predictions, actuals=y_test, description='Baseline model on Test data', ) -
Train an ML model, possibly doing some feature engineering to provide stronger signals, and hyper-parameter tuning, to squeeze as much signal as possible.
# Step 6 # Build a more complex model X_train = add_features( X_train, n_candles_into_future=prediction_window_sec // ohlc_window_sec, ) X_test = add_features( X_test, n_candles_into_future=prediction_window_sec // ohlc_window_sec, ) from src.model_factory import fit_lasso_regressor model = fit_lasso_regressor( X_train, y_train, tune_hyper_params=False, ) test_mae = evaluate_model( predictions=model.predict(X_test), actuals=y_test, description='Lasso regression model on Test data', ) -
Save the model to disk
# Step 7
# Save the model as pickle file
import pickle
with open('./lasso_model.pkl', 'wb') as f:
    logger.debug('Saving the model as a pickle file')
    pickle.dump(model, f)
Once you have your basic training script logic ready, you integrate it with your ML platform.
Step 2. Integrate the training script with Comet ML’s platform
In 3 steps:
-
Get your API key and project name from the Comet ML dashboard
-
Install the Comet ML SDK inside your virtual environment with
$ pip install comet_ml
Voilà!
You are now ready to start logging everything you need.
Step 3. Log parameters, metrics and charts
Every training run corresponds to an experiment, that you create at the beginning of your training script
# Create an experiment to log metadata to CometML
from comet_ml import Experiment
experiment = Experiment(
    api_key=os.environ['COMET_ML_API_KEY'],
    project_name=os.environ['COMET_ML_PROJECT_NAME'],
    workspace=os.environ['COMET_ML_WORKSPACE'],
)
Inside this experiment we will log every parameter, metric or chart that can help us
-
understand if the training run worked as expected (or not), and
-
easy the deployment later one. This is very important.
For example, in our case we log
-
The input parameters to our training script
experiment.log_parameters({
    'feature_view_name': feature_view_name,
    'feature_view_version': feature_view_version,
    'ohlc_window_sec': ohlc_window_sec,
    'product_id': product_id,
    'last_n_days_to_fetch_from_store': last_n_days_to_fetch_from_store,
    'last_n_days_to_test_model': last_n_days_to_test_model,
    'prediction_window_sec': prediction_window_sec,
})
-
A hash of the dataset we fetched from the Feature Store, to add data traceability
experiment.log_dataset_hash(ohlc_data) -
A plot of the target metric distribution
output_file = './target_metric_histogram.png' plot_target_metric_histogram( ohlc_train['target'], output_file, n_bins=100) experiment.log_image(output_file, 'target_metric_histogram') -
The baseline error metric
experiment.log_metric('baseline_model_mae_test', baseline_test_mae) -
The ML model error metric
experiment.log_metric('lasso_model_mae_test', test_mae) -
The model artifact
model_name = get_model_name(product_id)
experiment.log_model(
  name=model_name,
  file_or_folder='./lasso_model.pkl'
)
Step 4. Validate the model and push it to the registry
Finally, at the end of your training script you need to see if the model you just trained is “good enough” to be considered for deployment.
What does good enough mean?
This depends on the problem you work on. In our case, we built a price change predictor for the crypto market, which is a very hard problem. Hence, a model that can beat our simple baseline model is already good enough, so we register it.
So, in our case, the training script concludes with:
if test_mae < baseline_test_mae:
  experiment.register_model(
      model_name=model_name,
  )
[IMAGE MODEL REGISTRY]
Step 5. Iterate, iterate, iterate
Once your script is fully integrated with Comet ML, you can start iterating and running as many experiments as you want.
👉 Tip
Comet ML automatically logs the source code behind your experiment. This way you can quickly compare two experiment metrics, and understand if there are any code changes between the two.
Now it is your turn 🫵
Enough talking. It is now time to go back to your training script,
→ Parametrize it
→ Integrate it with Comet ML, and
→ Start iterating at the speed of light.
Sign up for FREE ☄️
Comet ML is the ML platform (experiment tracker + model registry) I use in all my projects, because
→ It is Serverless, so I don’t need to set up and maintain any infrastructure.
→ It has has top-notch features, like custom visualizations and model registry webhooks, and
→ It is FREE for individuals like you and me 🤑
That’s it for today,
Talk to you next Saturday
Until then, peace, laugh and love
Pau

